The right bike lights depend on the road home. Street lighting may help you see the surface; a dark lane puts that job on your front lamp. This guide compares five researched front and rear options, explains the specifications that matter and shows how to fit them without hiding the beam behind luggage.
Start with the mounting position
Before choosing a light, look at the space on your handlebar. A bag, computer or cable can occupy the spot shown in a product photograph. Check that the light has an approved mount for the bar and can face forwards without interfering with steering or controls.
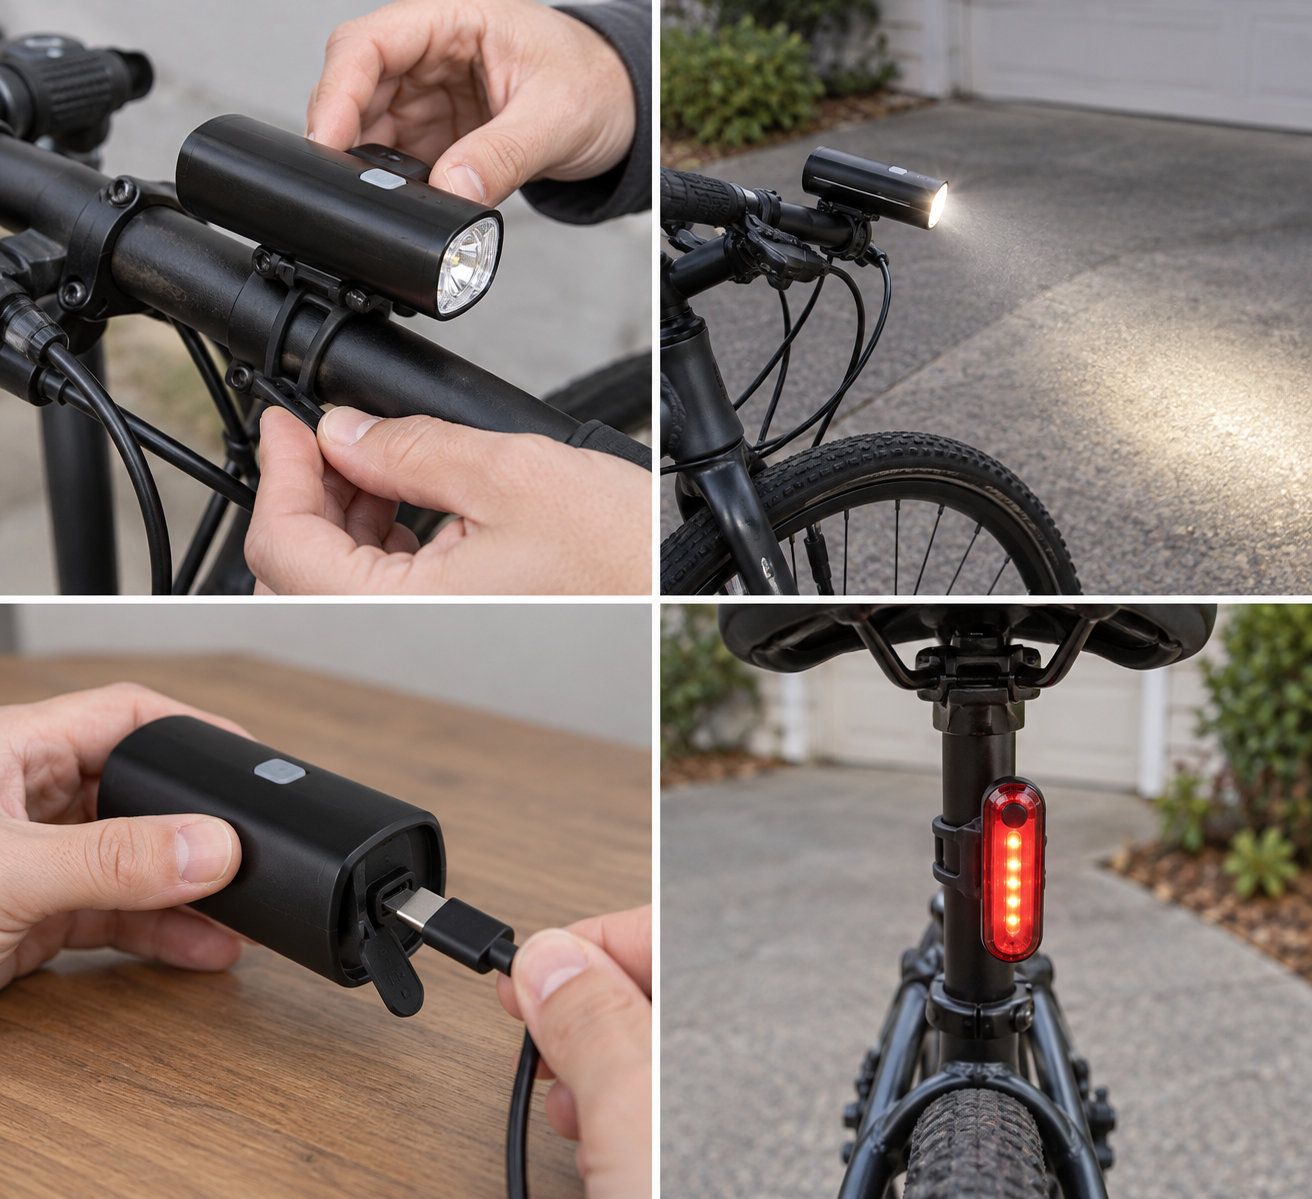
Fit the supplied clamp and any specified spacer with the bike stationary. Engage the light’s latch, then turn the bars both ways. If the light rotates or a cable catches, correct the mounting before riding. A brighter lamp will not compensate for a loose bracket.
Brightness is only useful when the beam lands well
Lumens measure light output; they do not describe the shape of the beam. You need useful illumination on the road, without dazzling people coming towards you. Compare beam demonstrations and the mode you will actually use, rather than buying the largest number on the box.
On level ground, switch on that mode and aim the light using its instructions. Check the illuminated area ahead and ask a helper to assess glare from a sensible distance. Recheck the angle after your first ride if the bracket has moved.
Read the runtime for your chosen mode
Maximum brightness and maximum runtime usually refer to different settings. A headline claim of many hours may be for a very dim mode. Find the output-and-runtime table, then add the outward and return legs of your ride and leave a reserve for delays.
A 45-minute ride each way needs 90 minutes before allowing for a puncture or detour. A claimed 90-minute runtime leaves no margin. Charge as instructed, keep charging ports dry and carry a suitable backup where a failure would leave you without adequate light.
Do not forget the view from behind
A rear light helps other people see you, but only if your coat or pannier does not cover it. Fit it to an approved rear-facing position, load your normal luggage and have someone look from behind and either side while you hold the bike upright.
If it is obscured, use an approved alternative mount. The comparison below separates front and rear products, because one cannot replace the other. For UK night riding, also read the lighting and reflector requirements linked in the final section.
How we selected: We compared official product specifications, published UK prices where available and practical fit requirements. The selection labels are our assessment of those features. We have not personally tested these products.
Checked 12 October 2026. Prices refer to the named variant or package and can change. They do not guarantee stock or the lowest offer. Unverified UK prices are marked; US prices have not been converted into invented UK offers. These are five options by use, rather than a universal performance ranking. No affiliate links are included.
Compare the five options
| Product | Shortlist for | UK price checked | Key specification |
|---|---|---|---|
| CatEye AMPP500S | Lower-priced front option | £39.99 UK listing | 500lm high: 1.5h |
| CatEye AMPP900 | More front-light headroom | £64.99 UK listing | 900lm high: 2h; USB-C |
| Lezyne Micro Drive 800+ | Compact USB-C front alternative | UK price not verified | 800lm maximum; IPX7 |
| Lezyne Lite Drive 1200+ | Higher-output front shortlist | UK price not verified | 1200lm maximum; 3800mAh |
| CatEye ViZ300 | Rear visibility; needs a front light too | £99.99 AMPP900 / ViZ300 set | Older listed model: 30lm steady for 5h |
Lower-priced front option
1. CatEye AMPP500S
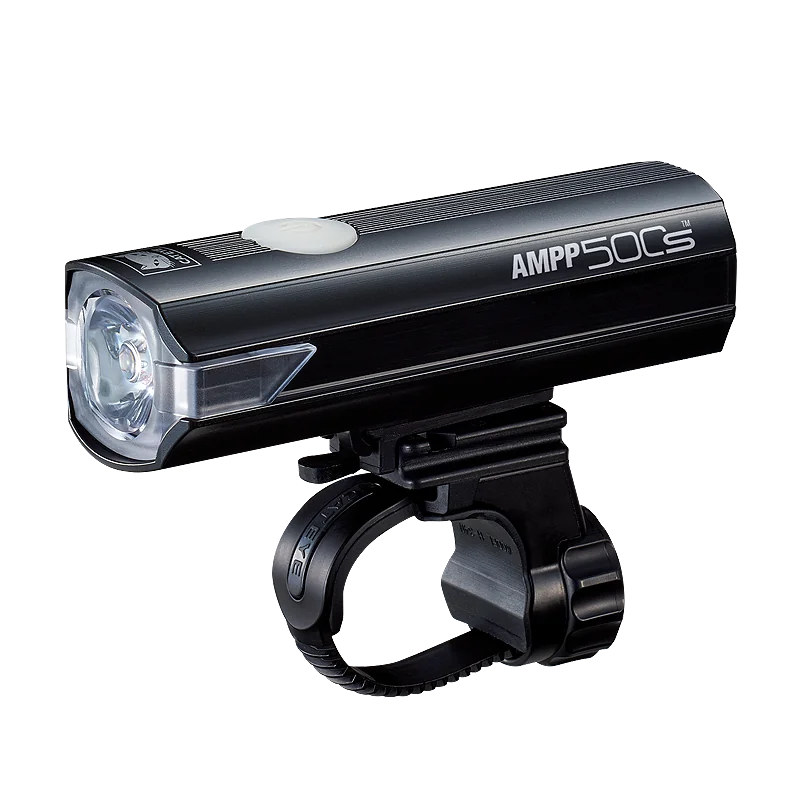
£39.99 UK listing · 500lm high: 1.5h
Compare this for a short journey before buying more output. CatEye specifies 1.5 hours at 500 lumens, three hours at 250 and eight hours at 100. Those are different modes; the longest runtime is not the runtime at maximum brightness.
Why shortlist it: Clear output and runtime steps.
Trade-off: A 90-minute trip leaves no reserve at the claimed high-mode duration. Battery age, cold and delays matter.
Official product specifications or approval
Our verdict: A useful short-commute specification with clear output modes; the 1.5-hour high setting limits longer journeys.
More front-light headroom
2. CatEye AMPP900
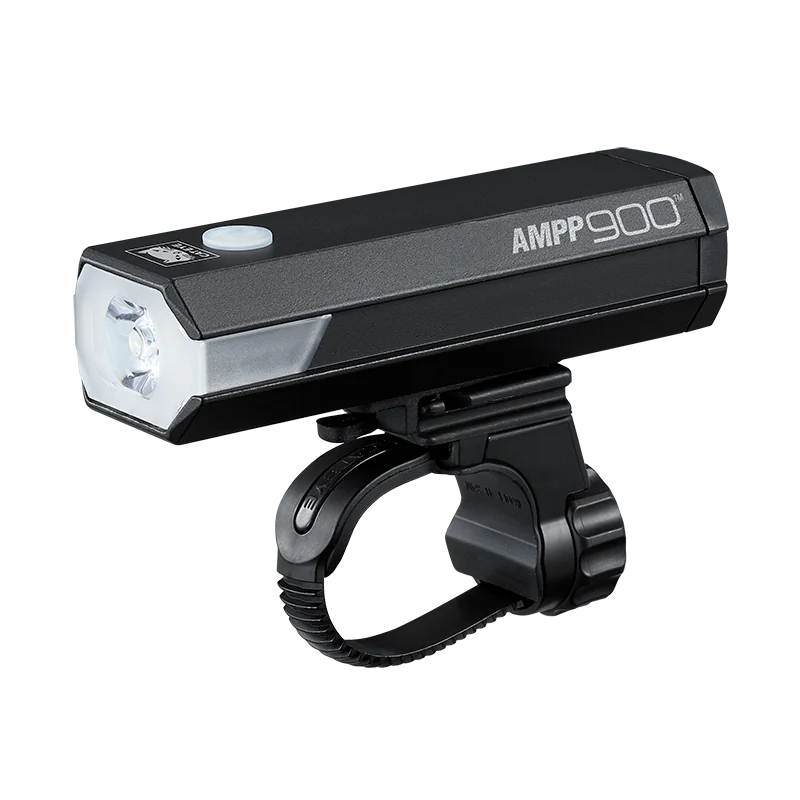
£64.99 UK listing · 900lm high: 2h; USB-C
The AMPP900 lists two hours at 900 lumens, three at 400 and five at 200. A three-colour battery indicator helps you monitor reserve. Compare its beam and mounting position rather than selecting it solely for a bigger number.
Why shortlist it: More claimed high-mode runtime than AMPP500S.
Trade-off: IPX4 protection is specified. A USB-C cable is not included on the manufacturer listing.
Compact USB-C front alternative
3. Lezyne Micro Drive 800+
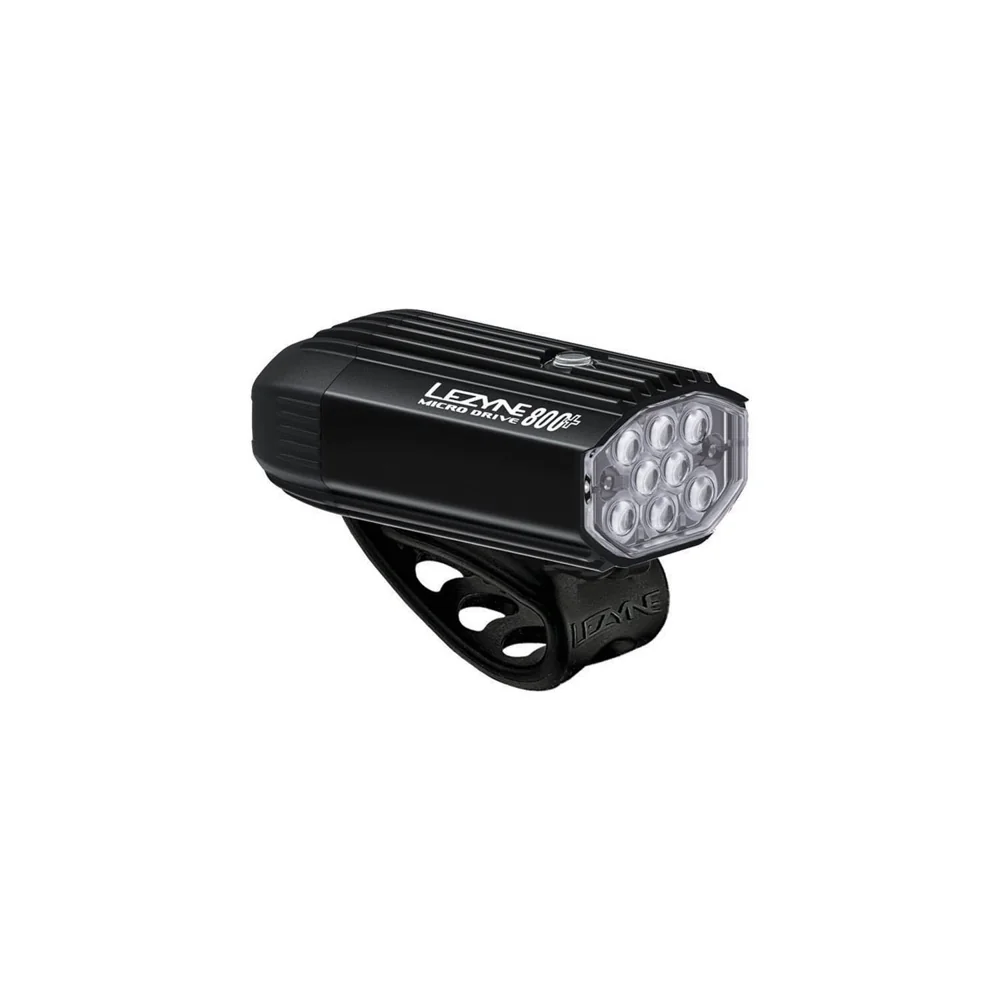
UK price not verified · 800lm maximum; IPX7
The Micro Drive 800+ has USB-C charging, IPX7 protection and an optional mounting adapter. Its 35-hour maximum is on femto mode, not at 800 lumens. Read the complete mode chart for the output you intend to use.
Why shortlist it: A compact alternative with a higher stated ingress-protection rating.
Trade-off: Price any mount and cable separately. Do not use femto-mode runtime as a road-illumination estimate.
Higher-output front shortlist
4. Lezyne Lite Drive 1200+
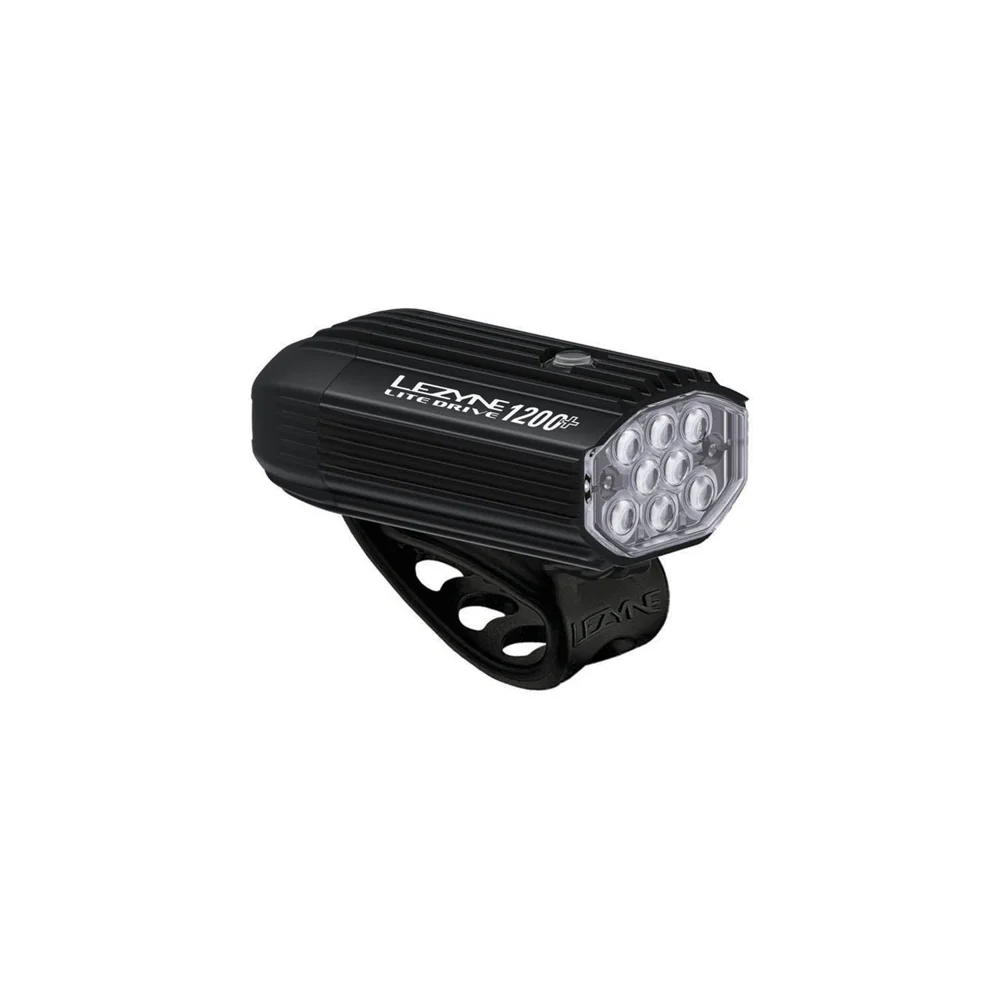
UK price not verified · 1200lm maximum; 3800mAh
The Lite Drive has a larger stated battery than the Micro model, USB-C charging and IPX7 protection. The headline 60-hour maximum is also at femto output. Compare it for darker or longer rides using the actual mode chart.
Why shortlist it: Higher maximum output and a larger stated battery.
Trade-off: More light can mean more glare. Aim it carefully and confirm useful-mode runtime.
Rear visibility; needs a front light too
5. CatEye ViZ300
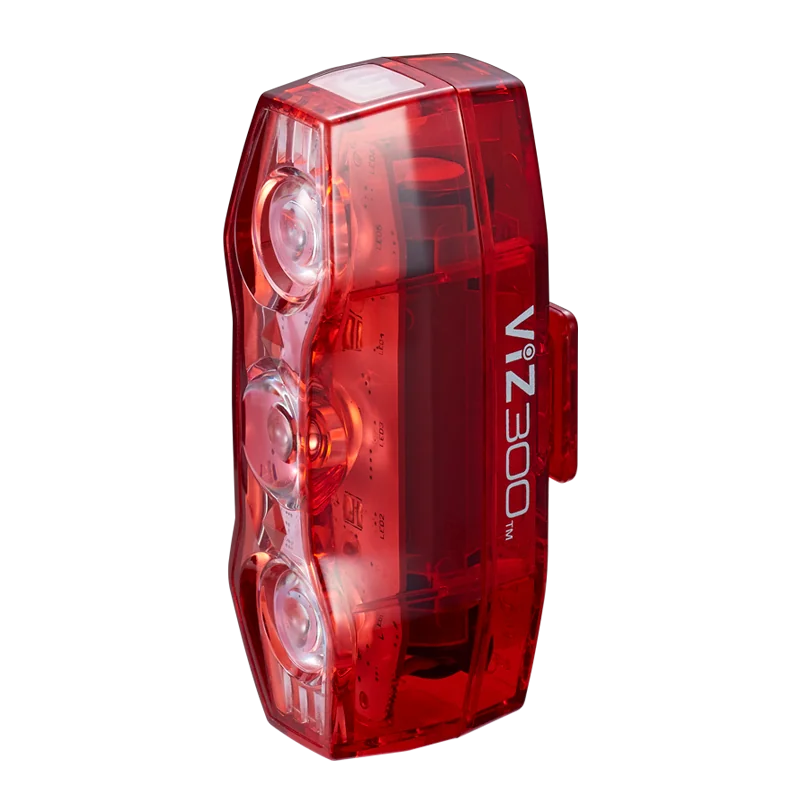
£99.99 AMPP900 / ViZ300 set · Older listed model: 30lm steady for 5h
The ViZ300 is a red rear light. The individual model page lists five hours at 30-lumen steady output; 300 lumens refers to daytime flashing. Check the revision being sold because charging ports differ between listings and newer sets.
Why shortlist it: A dedicated rear light with group-riding modes.
Trade-off: A bag or coat can hide a seatpost light. Check the actual view from behind and confirm the charging-port version.
Choose the mode, then compare runtime
A 45-minute outward ride and a 45-minute return total 90 minutes. Add reserve for slower conditions, punctures and detours. A light claiming 90 minutes in your chosen mode leaves no margin. Test on your route and recharge before reserve becomes a problem. Carry a suitable backup where failure would leave you without adequate light.
Lumens measure output, not where it lands. Look for comparable beam demonstrations and useful illumination ahead. Aim the lamp so it does not dazzle approaching people, and adapt output to the conditions. Four entries here are front lights; the fifth is a rear light. They are alternatives by role, not five complete sets.
UK night riding and practical checks
Highway Code rule 60 requires lit white front and red rear lamps at night, plus the applicable reflectors. A steady front lamp is recommended on unlit routes. Read the official lighting requirements; lumens alone do not establish compliance.
- Check bar or seatpost fit without obstructing controls.
- Keep bags and clothing clear of lights.
- Check brackets remain secure on your surfaces.
- Confirm port revision, cable and charging time.
- Check battery reserve before leaving.
Ingress ratings do not override charging instructions. Keep ports dry and correctly covered. On group rides, use a considerate rear mode rather than an intense flash into someone immediately behind.
Join the discussion
What has worked for you? Share your experience or ask a question about this article.
Sign in with GitHub to comment. Your comment and GitHub profile name will be public. Comments appear when posted and may be moderated afterwards.
Keep replies relevant and respectful. No spam, personal information or unsupported accusations. Discussion and privacy information.